Exploring the Shada Naw Shrine in *The Legend of Zelda: Tears of the Kingdom* is one of the many captivating moments in the game that blend exploration, puzzle-solving, and rewards. For those who find themselves wandering through the vast landscapes of Hyrule, encountering the Shada Naw Shrine is a significant step in uncovering the depths of the game’s intricate design. This walkthrough will guide you through every aspect of this shrine, from the challenges it presents to the treasures hidden within. Whether you are a seasoned player or a newcomer, this guide will ensure you get the most out of your journey.
What is the Shada Naw Shrine?
The Shada Naw Shrine is one of the many Shrines scattered throughout Hyrule, each offering its own set of challenges, puzzles, and valuable rewards. These Shrines, typically located in hard-to-reach places or nestled deep within the land’s natural beauty, are integral to your progression in the game. They not only grant Spirit Orbs that are essential for increasing Link’s health and stamina but also serve as a testing ground for your puzzle-solving skills.
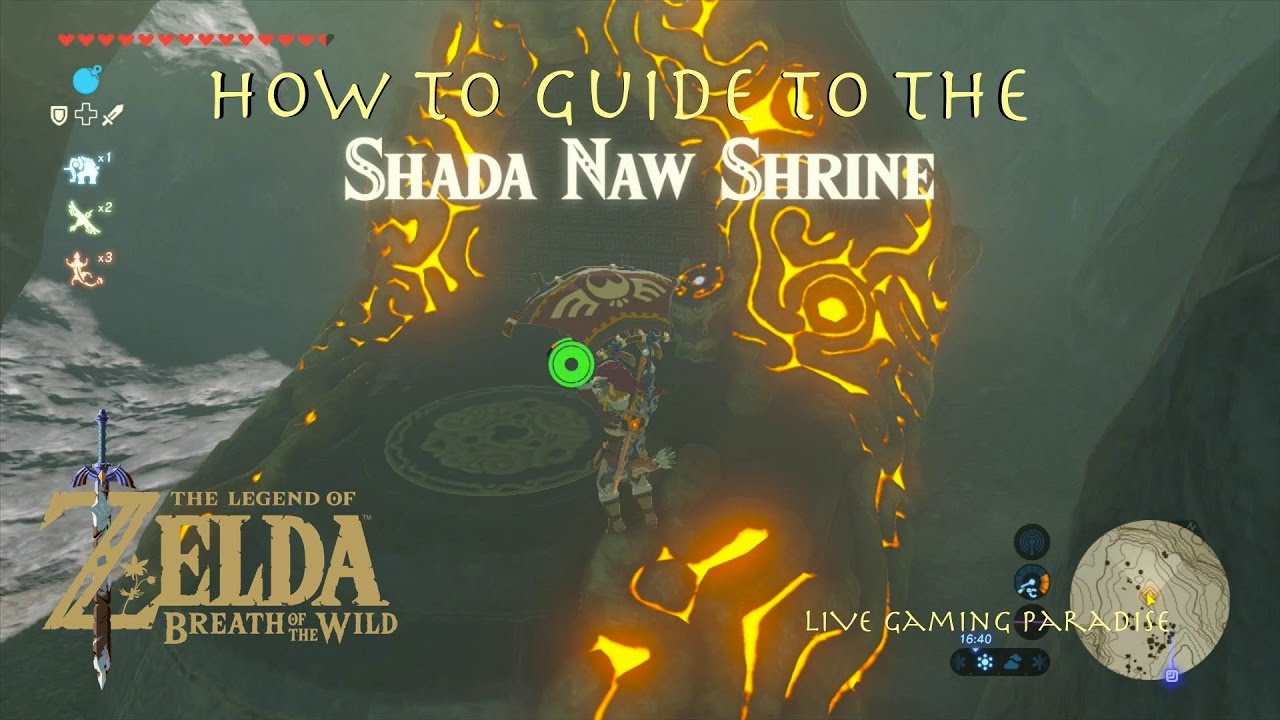
The Shada Naw Shrine itself is found in a unique part of Hyrule, offering a puzzle that requires a careful balance of patience, wit, and exploration. While it may seem daunting at first, with the right approach, it’s a puzzle worth solving.
Step-by-Step Shada Naw Shrine Walkthrough
# 1. **Locate the Shrine**
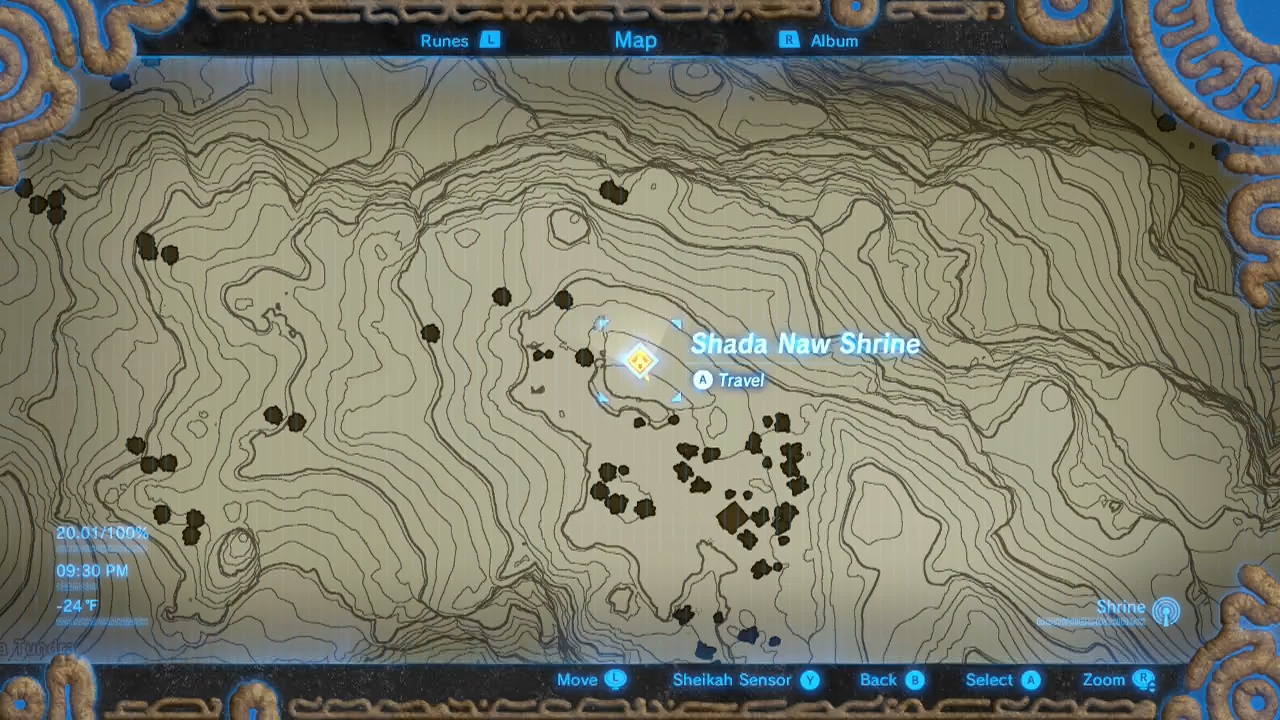
First things first, you need to find the Shada Naw Shrine. The shrine is located in the Lanayru Wetlands, a region known for its lush vegetation and sprawling bodies of water. If you’re already familiar with the area, this shouldn’t be too difficult to spot. However, if you’re not, use your Sheikah Sensor to pinpoint its exact location or consult the map for a more precise navigation.
# 2. **Prepare for the Challenge**
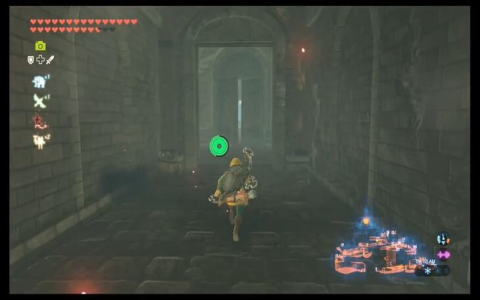
The Shada Naw Shrine presents a water-based puzzle. Before you begin, make sure you have enough stamina and the right equipment to handle potential swimming and climbing. It’s also wise to bring along some weapons in case you encounter hostile creatures in the vicinity.
# 3. **Solve the Puzzle**
Upon entering the shrine, you’ll be faced with a series of water-activated mechanisms. The main challenge here is manipulating water levels to reach higher platforms or uncover hidden paths. This puzzle demands that you use Link’s abilities in creative ways — be it through the use of the Cryonis Rune to create ice pillars or the Magnesis Rune to interact with metal objects within the shrine.
The key to solving the Shada Naw puzzle lies in controlling the flow of water with precision. You’ll need to experiment with different interactions, testing which combination of environmental factors yields the correct height or pathway.
# 4. **Defeat the Guardian**
Upon solving the water puzzle, you’ll face the shrine’s guardian. This foe is not to be underestimated. Be prepared for a battle that will require quick reflexes and strategic use of your weapons and shields. If you’re struggling, remember that timing your attacks and dodges is key to gaining the upper hand. Use your environment to your advantage — positioning yourself near higher ground or using your weapons with long reach will make a significant difference.
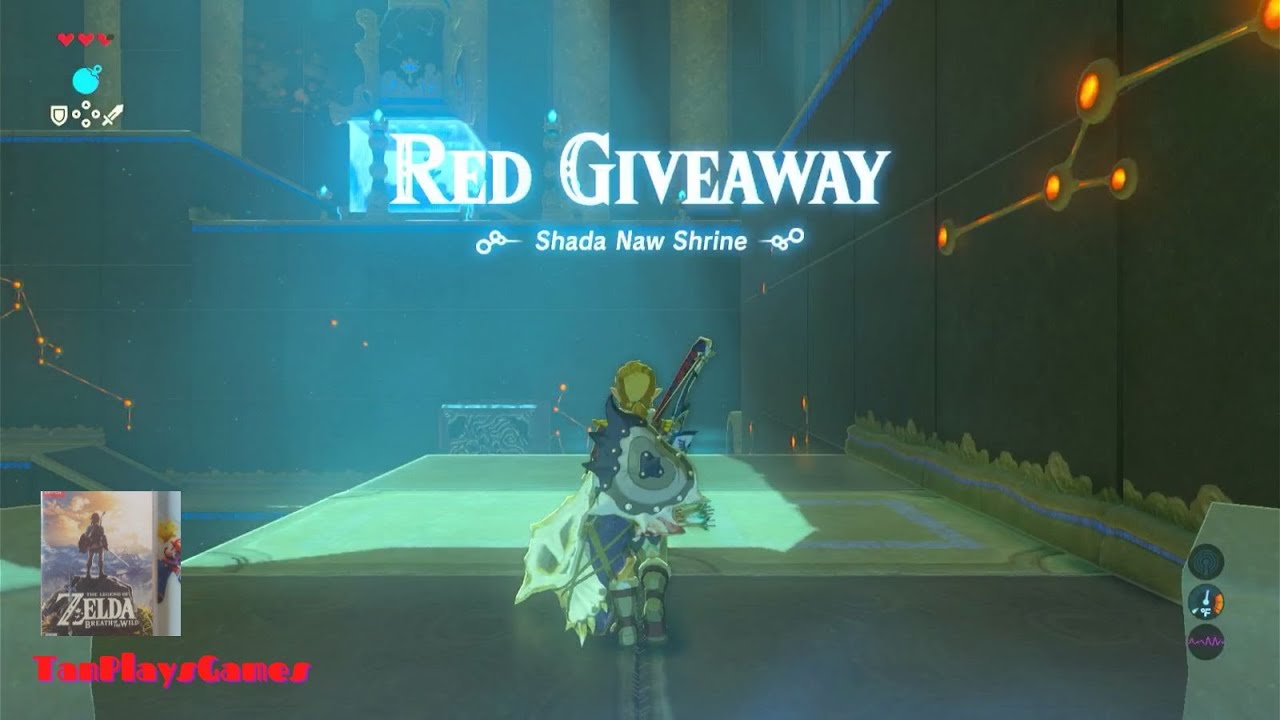
Once defeated, the guardian will drop valuable loot, and you’ll be rewarded with a Spirit Orb. The shrine will open its doors to offer you a treasure chest as well, which could contain anything from rare gems to useful items for your quest.
# 5. **Claim Your Rewards**
Don’t forget to claim your well-earned Spirit Orb, which will come in handy for upgrading Link’s health or stamina later on. Additionally, the treasure chest inside may hold something that adds an extra layer of strength to your journey.
Tips for Success
– **Use Cryonis Strategically**: The Cryonis Rune will prove invaluable in solving the water puzzles. Creating pillars of ice at the right points will allow you to cross water or block it from flowing, giving you the advantage in the shrine’s tricky sections.
– **Look for Hidden Pathways**: If you find yourself stumped by a puzzle, take a step back and look for hidden pathways. Sometimes the solution lies in obscure parts of the shrine, waiting for you to uncover them.
– **Stay Equipped**: The battle with the guardian can be challenging, so make sure you’re well-stocked with weapons, shields, and healing items. A well-prepared Link is a victorious Link.
– **Use the Map**: If you’re feeling lost, your Sheikah Slate’s map is always a helpful tool. Keep track of your surroundings and mark any areas of interest. Often, the solution lies in reexamining areas you’ve previously passed.
Conclusion
The Shada Naw Shrine is more than just a puzzle to solve or a battle to win. It is a testament to *Tears of the Kingdom’s* masterful design, which combines environmental storytelling, intricate challenges, and rewarding exploration. Completing the shrine is a satisfying experience that grants both a sense of achievement and a valuable Spirit Orb to further Link’s journey. As you move forward, remember that every shrine, no matter how challenging, brings you one step closer to unlocking the full potential of your adventure in Hyrule.
With this guide, you’ll not only conquer the Shada Naw Shrine but also gain a deeper appreciation for the world that awaits you beyond it. So, grab your gear, sharpen your wits, and dive into the mysteries that await within this stunning shrine. Your journey to uncover all of Hyrule’s secrets is just beginning!


