**Introduction: The Mystery of Helldivers 2 Map Symbols**
If you’ve jumped into *Helldivers 2* with all the enthusiasm of a space marine charging into battle, you might have noticed something curious on your map: those weird little symbols scattered around. At first glance, they might look like random scribbles, but trust me, there’s more to them than meets the eye. They are not just decoration or chaos from an alien world; these symbols play a key role in guiding your mission and survival in this action-packed game. So, what exactly do they mean? Let’s dive in and decode these mysterious map symbols!
**What Are These Symbols?**
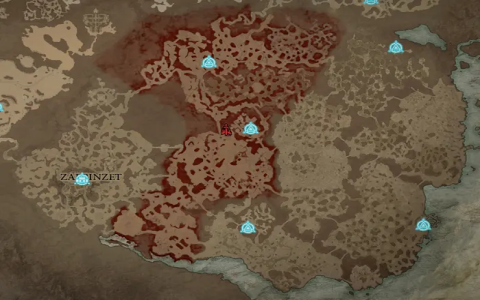
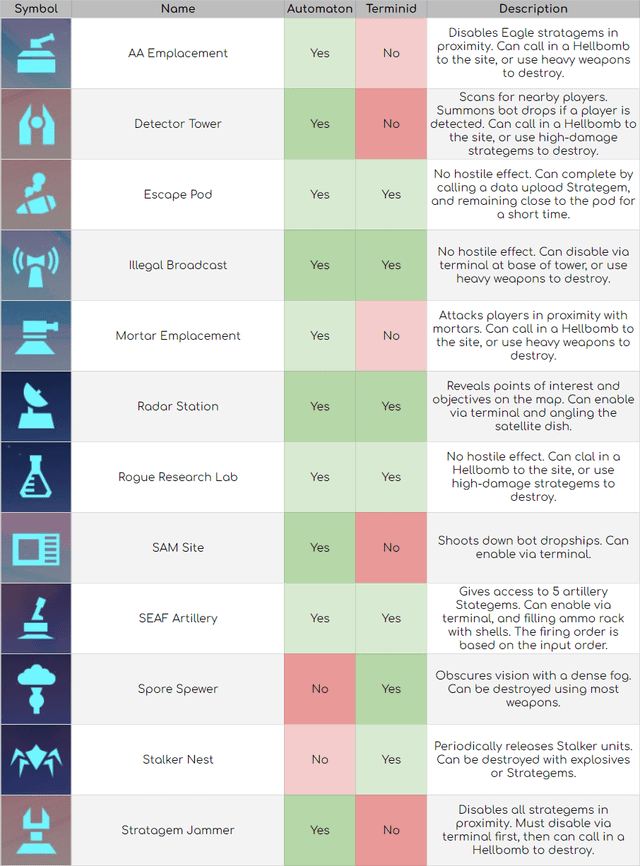
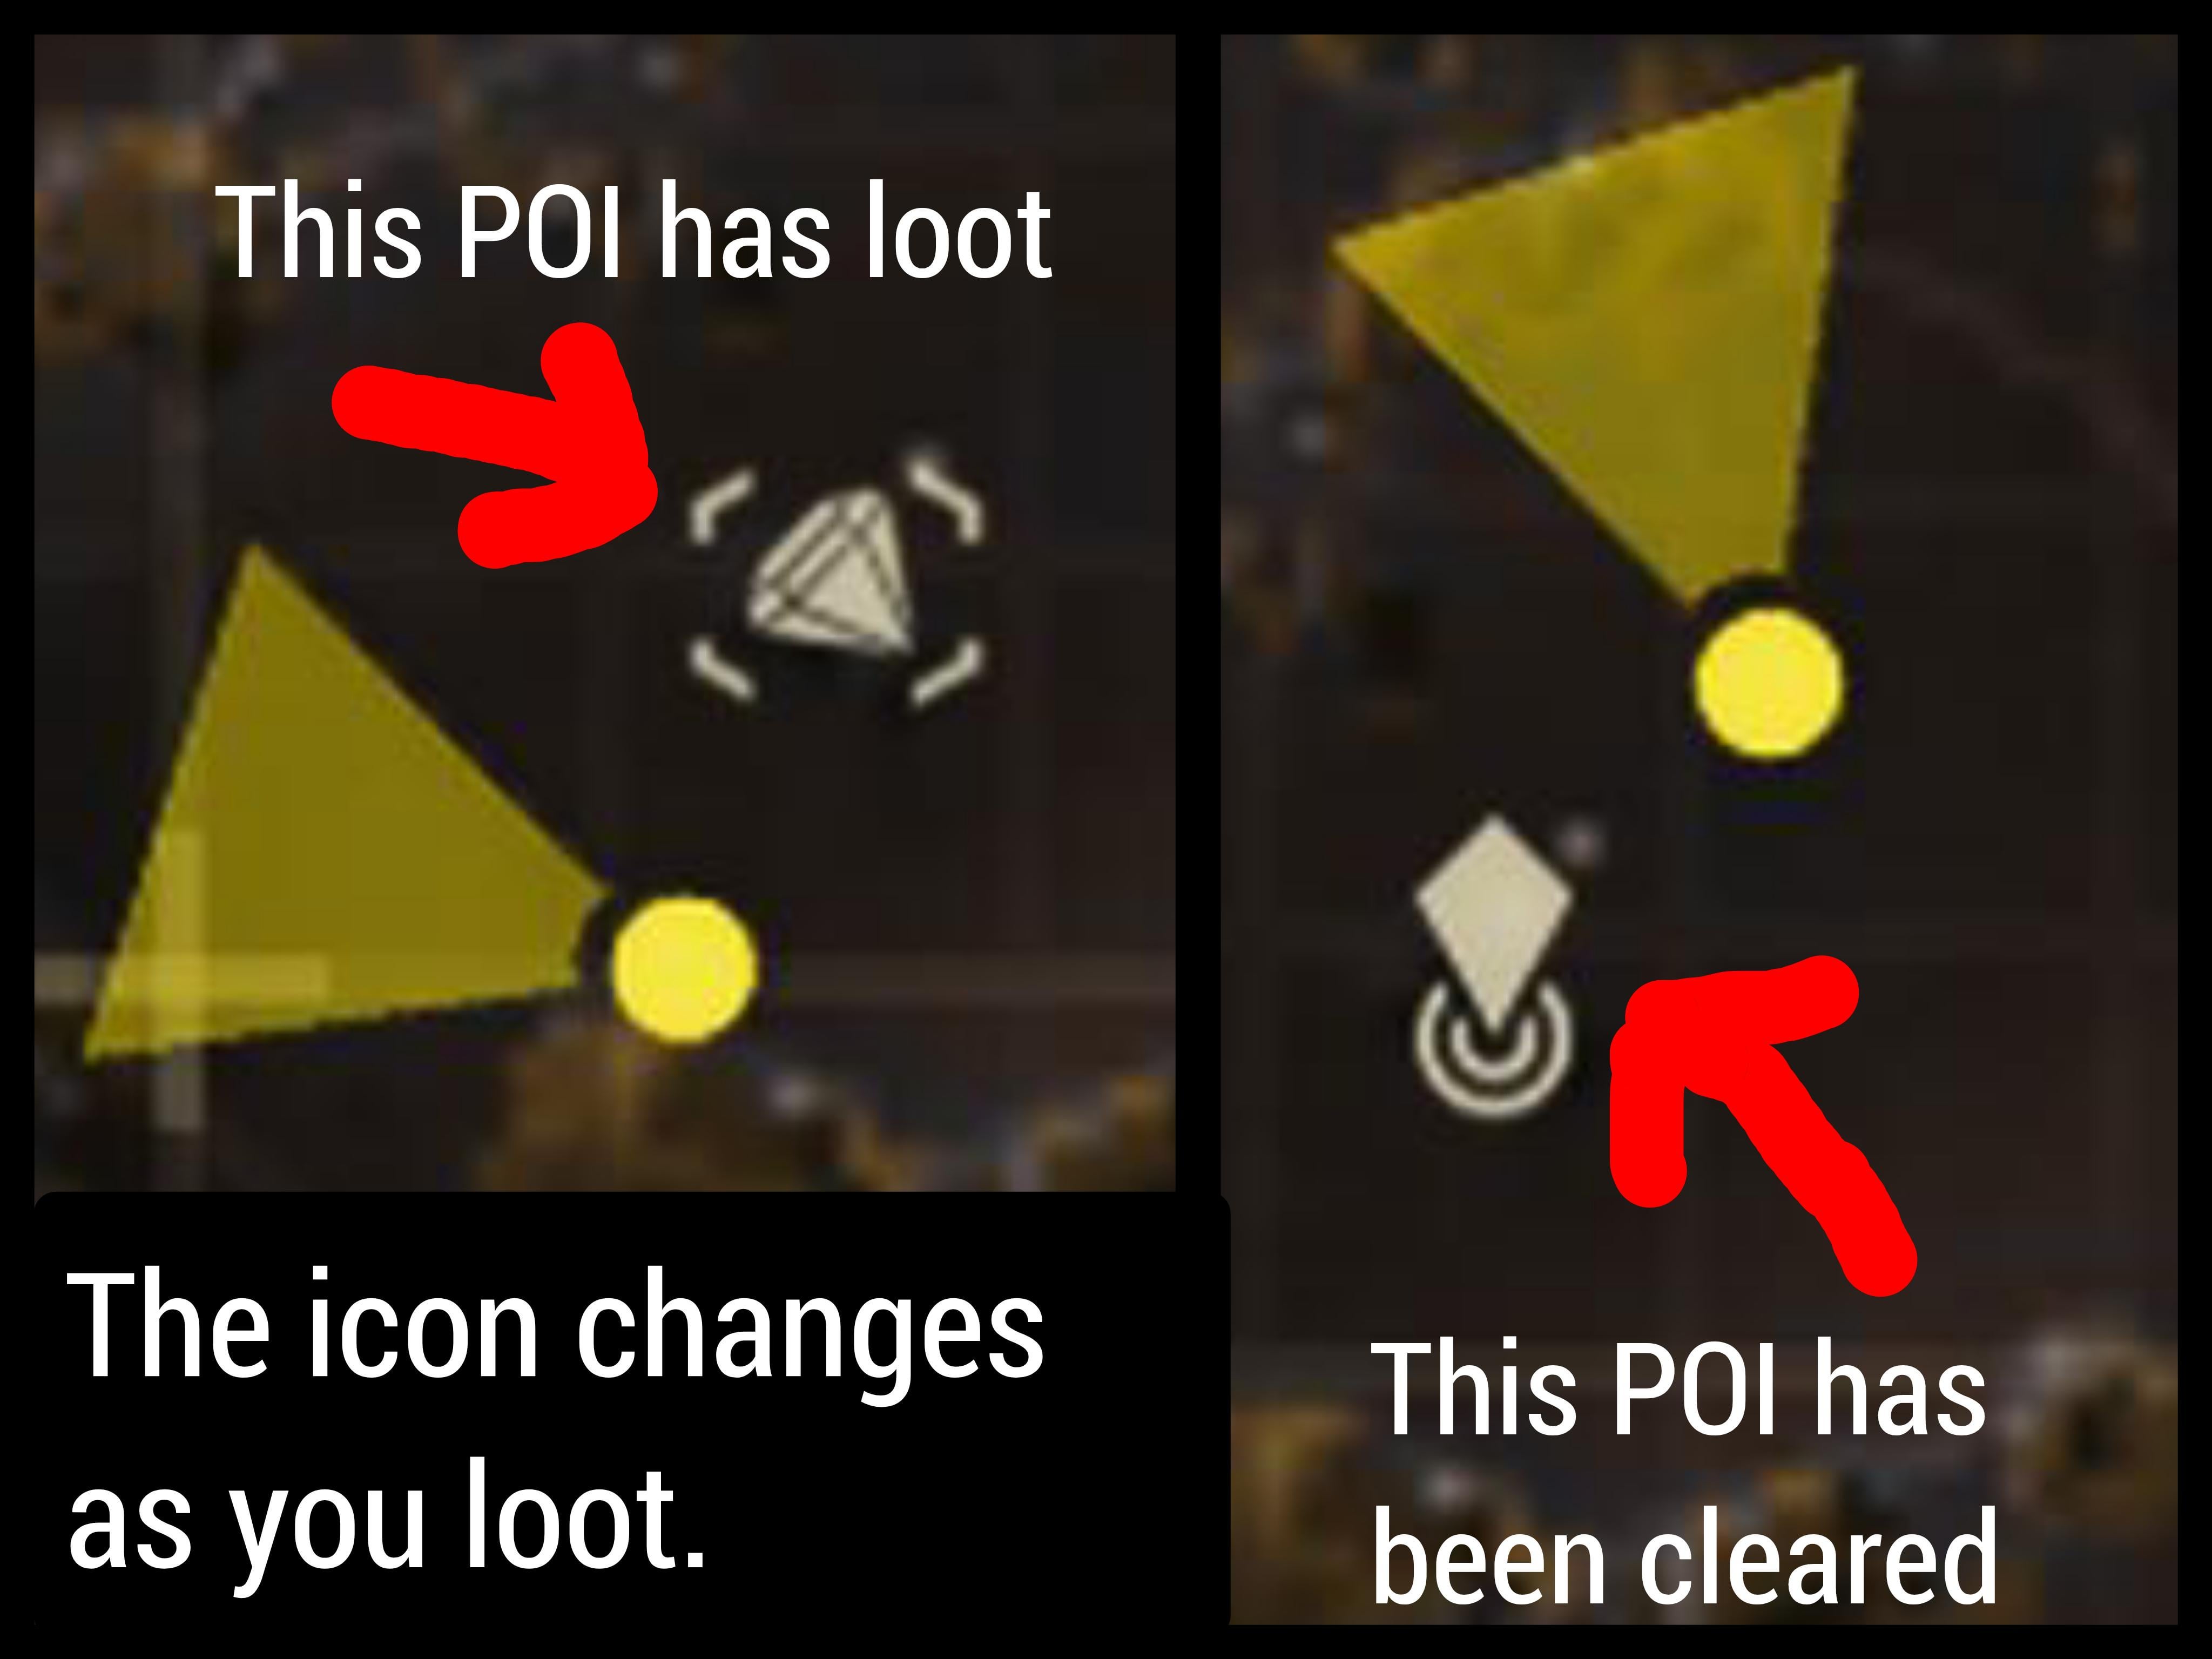
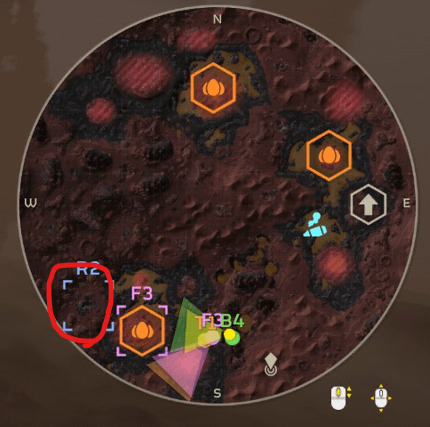
To the untrained eye, these symbols might appear as just random icons, but they actually represent different objectives, threats, or points of interest that you’ll need to be aware of during your mission. These include things like supply drops, enemy positions, and extraction zones. Understanding these symbols is crucial because they can change the tide of your battle. For example, seeing a “supply drop” symbol means you’ll need to head to that location to get important resources, while an “enemy nest” symbol means you’re about to face some serious firepower.
**The Impact on Gameplay and User Experience**
In *Helldivers 2*, map symbols are not just for decoration. They directly affect your strategy and decisions. If you don’t know what they mean, you might find yourself wandering around the map aimlessly, running into ambushes, or missing out on valuable resources. It’s like playing a game of chess but without knowing where the pieces are! The symbols provide players with a helpful visual guide that helps avoid confusion and ensures smoother gameplay. However, failing to learn what they represent could lead to frustrating situations, especially when you’re stuck in the heat of battle and don’t know what to prioritize.
**Different Platforms, Different Experiences**
On different platforms, *Helldivers 2* players may have slightly different experiences when it comes to the visibility of these map symbols. Some users report that the symbols are more easily distinguishable on PC due to higher resolution displays, while others on consoles have mentioned that the symbols can sometimes blend into the map, making them a little harder to spot. This is something to consider if you’re playing on a smaller screen or a lower-resolution setup.
**Fun Background: How These Symbols Came to Be**
You might be curious about how these symbols were designed in the first place. Well, the developers at Arrowhead Game Studios wanted to create an intuitive system where players could easily understand the game world, even when things were chaotic. The symbols are simple but efficient, designed to give players quick visual cues without cluttering up the map. This is especially important in a game where every second counts, and confusion could lead to failure.
**Personal Player Experience: A Journey of Discovery**
As someone who’s spent countless hours in *Helldivers 2*, I can tell you that at first, I was just as confused by these symbols as any other new player. I’d be staring at the map, trying to figure out which icon was important, and which one was just another piece of useless decoration. It wasn’t until I got ambushed by a horde of enemies that I realized the “enemy nest” symbol wasn’t something to ignore! The lesson was hard learned, but it made me more aware of how these symbols can be the difference between life and death in the game.
**Solutions: How to Make the Most of These Symbols**
Now that you know why these symbols are important, how do you make sure you’re using them to your advantage? Here are a few tips:
1. **Learn the Symbols**: It might take a few runs to fully memorize what each icon means, but once you do, your strategy will improve dramatically.
2. **Use the Map Often**: Don’t just check the map when you’re lost. Constantly check it during missions to stay on top of what’s going on around you.
3. **Adapt to the Symbols**: Pay attention to how the game changes in different missions and scenarios. Sometimes the symbols will shift in importance depending on your objectives.
**Player Feedback: What’s the Community Saying?**
The *Helldivers 2* community is full of players sharing their experiences with map symbols. Many players have said that once they got the hang of the symbols, their gameplay became a lot smoother. Some even joke about their first few missions being filled with “symbol confusion,” as they tried to decode what each icon meant. Others have pointed out that the symbols should be more visible on certain platforms, suggesting a possible future update that could enhance the clarity of the icons. A few players have also created online guides to help others, so don’t hesitate to check those out if you need extra help!
**Conclusion: Are You Ready to Conquer the Symbols?**
In conclusion, *Helldivers 2* map symbols are a vital part of the game’s strategy. Once you understand what each icon means, your missions will be much more manageable, and you’ll feel like a true elite fighter instead of someone stumbling around aimlessly. Take the time to learn these symbols, use them to your advantage, and you’ll be on your way to saving the galaxy—one well-planned mission at a time.
So, here’s the question: Have you had any struggles with *Helldivers 2* map symbols? What was your experience like, and how did you figure things out? Feel free to share your thoughts in the comments below—let’s help each other become better Helldivers!
**Summary**
Map symbols in *Helldivers 2* are much more than just random icons. They are essential tools that help guide you through the game’s intense missions. By understanding and using them, you’ll improve your gameplay, avoid unnecessary confusion, and make your experience much more enjoyable. Happy diving, and may your missions be successful!


