**Introduction: Welcome to the Horns of the Berserker!**
Have you ever been in the middle of a wild battle in *Baldur’s Gate 3* and thought, “Wow, this is intense, but it could use a little more chaos”? Well, you’re not alone! Enter the “Horns of the Berserker” — a quest that turns the volume up on madness and carnage. Whether you’ve heard whispers about this iconic item or stumbled upon it by accident, it’s one piece of gear that leaves a lot of players scratching their heads. What does it do? Why is it so special? And how do you survive with it? Let’s dive in and break it all down.
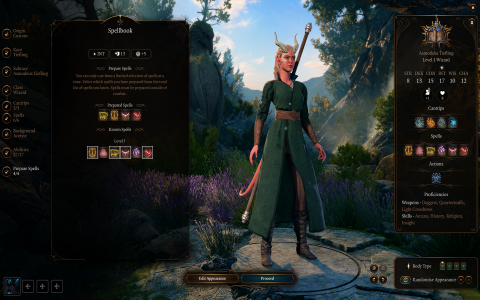
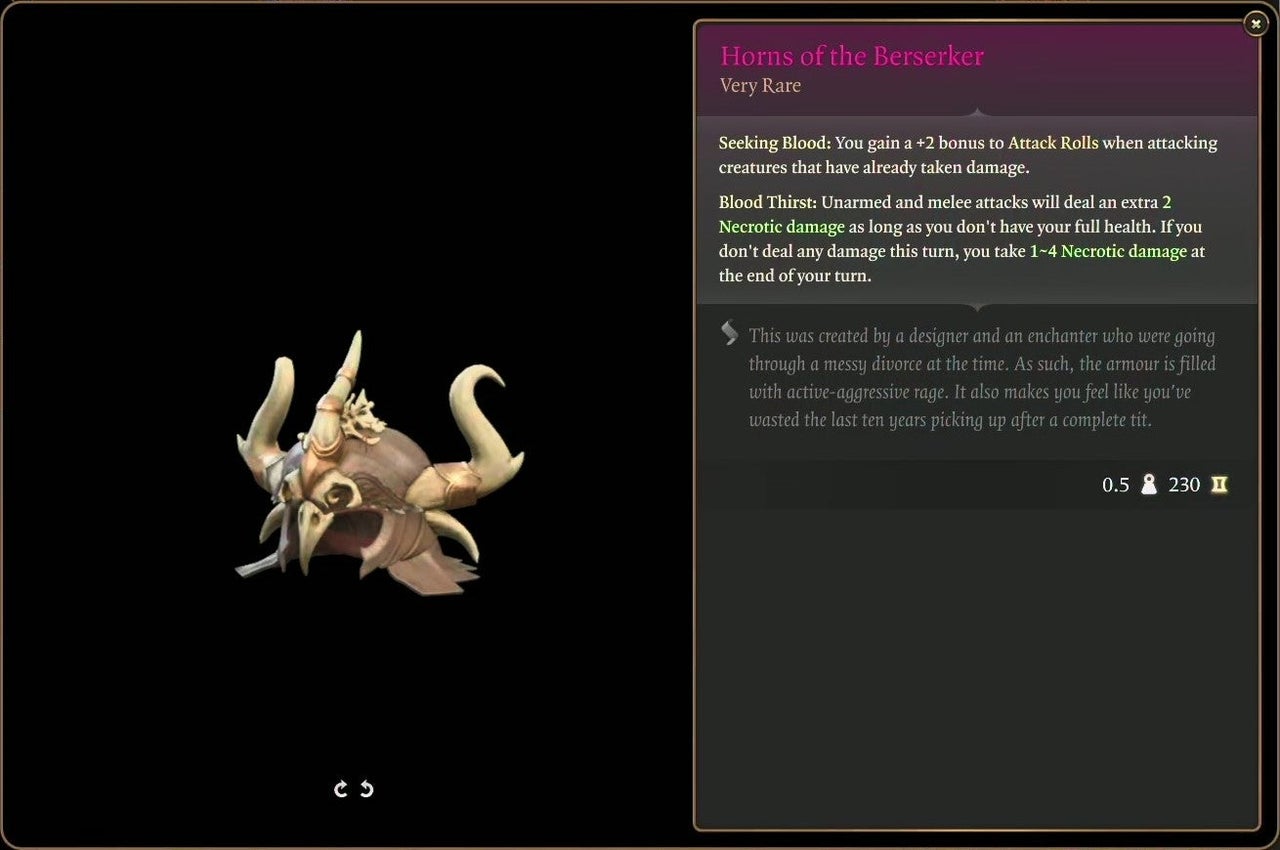
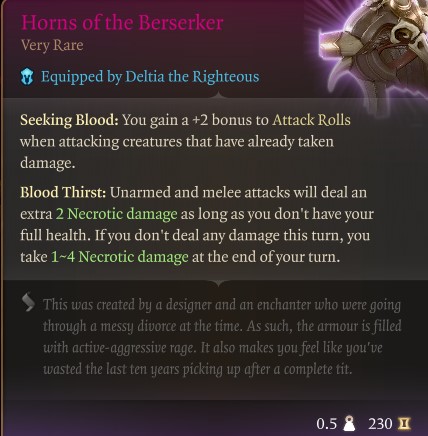
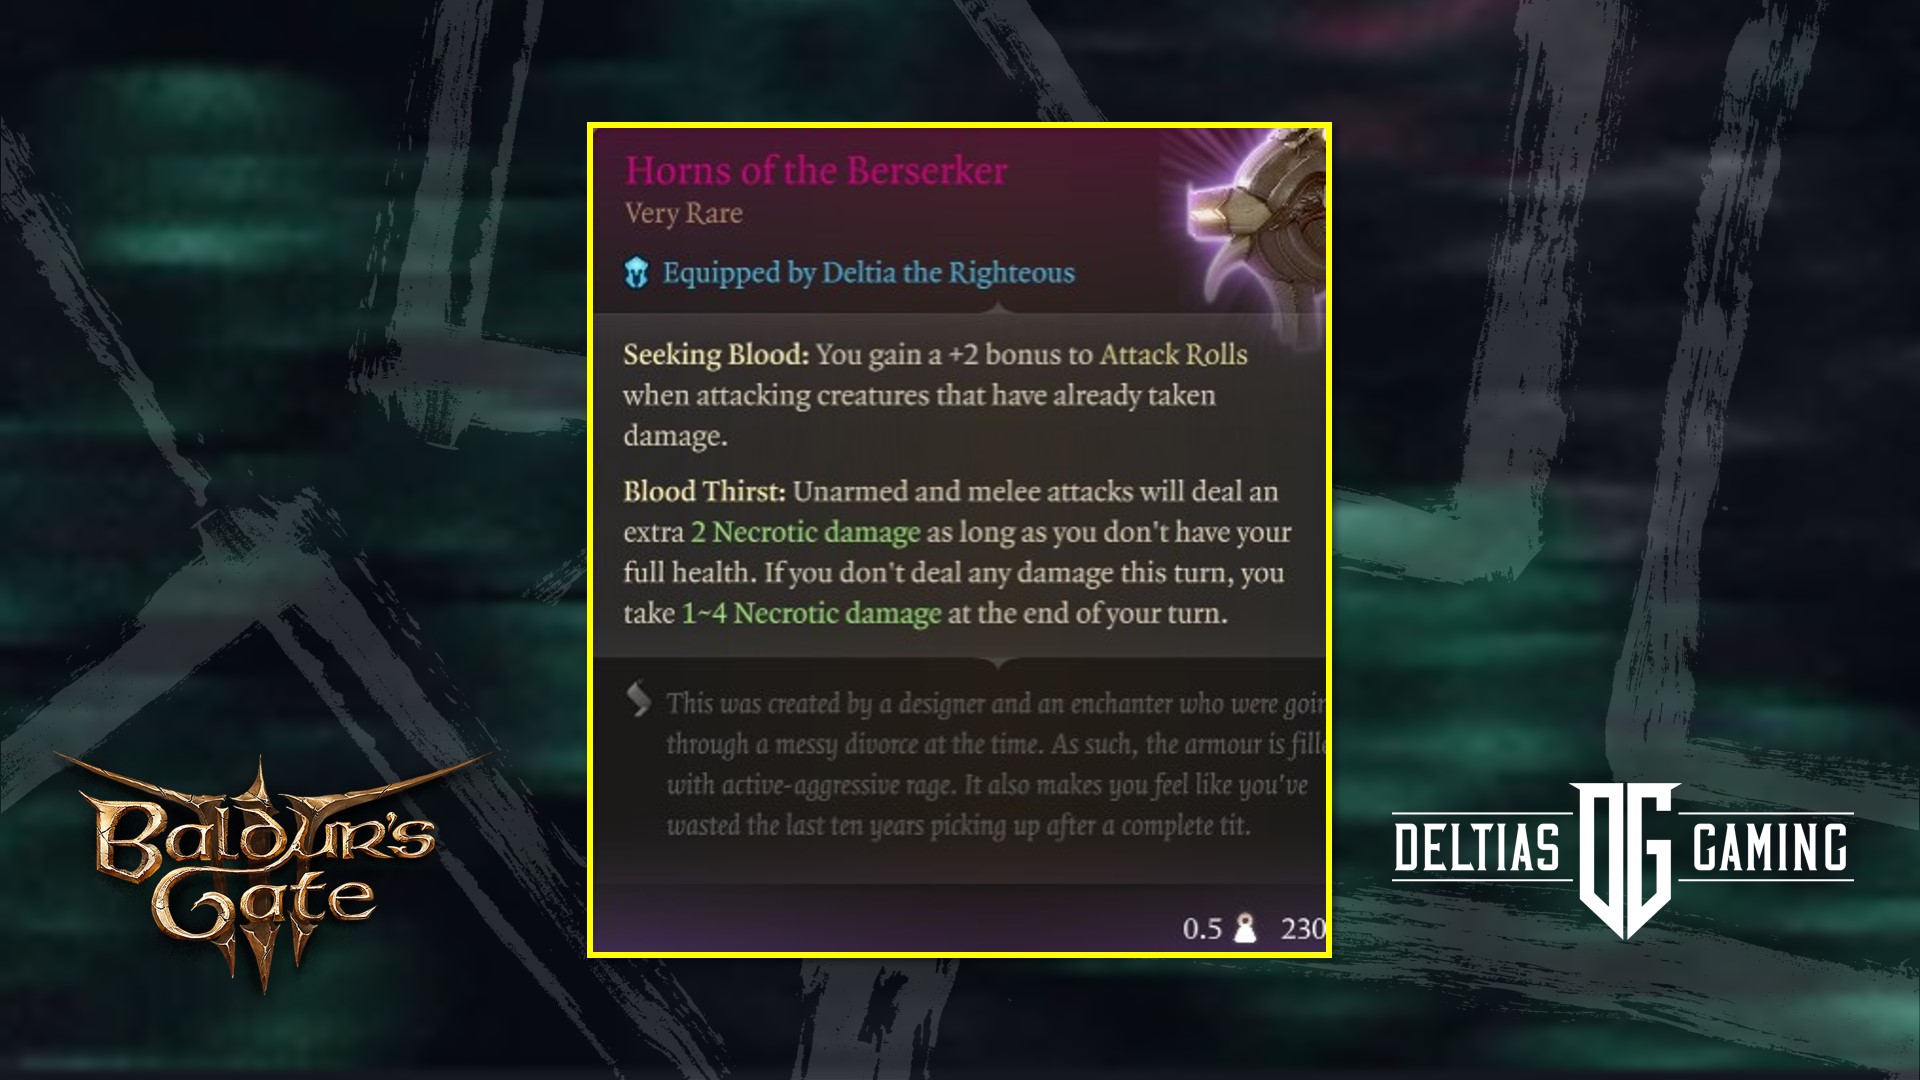
**What is the Horns of the Berserker?**
The “Horns of the Berserker” are a magical item in *BG3* that trigger a berserk state in the wearer, greatly enhancing combat capabilities but also clouding the mind. These horns can give your character a massive power boost, turning them into a whirlwind of destruction on the battlefield. However, there’s a catch — your character’s ability to control their actions can become… well, a bit more chaotic. They’ll become stronger, faster, but perhaps a little too eager to charge into battle, making it difficult to control the flow of combat.
The horns’ effects can vary depending on how you use them, where you are, and who’s around. There’s a lot of room for strategy and experimentation, but there’s also potential for disaster if you don’t manage them properly.
**Challenges: The Dark Side of the Horns**
While these horns seem like a dream come true for players looking for extra power, they also come with some serious challenges. For example, during the berserker rage, your character becomes uncontrollable. This can cause problems if you accidentally attack your own allies or charge into traps that you would normally avoid.
One of the main issues players face is the lack of control during the berserker phase. You might find yourself in a situation where your character, under the influence of the horns, runs straight into a dangerous area or gets stuck in a loop of mindless attacks. It’s all part of the wild, unpredictable nature of the berserker rage, but it can be frustrating when you want a more tactical approach.
Additionally, the Horns of the Berserker might not always be the best choice in every situation. The constant rage can cloud your character’s judgment, making it harder to solve puzzles or talk your way out of difficult situations. So, while it’s an exciting option for combat, it might not always be the right fit for all playstyles.
**How to Use the Horns Wisely**
So, how do you make the most out of these powerful yet uncontrollable horns? First, it’s important to understand when to use them and when to hold back. The Horns of the Berserker are best used in high-stakes combat scenarios where you need a lot of firepower and can handle the chaotic aftermath.
If you’re in a tight spot with enemies closing in, pop those horns and let your character go wild! But if you’re about to enter a delicate diplomatic situation or a puzzle-heavy area, maybe leave the horns in your inventory for the time being. Remember, timing is everything!
Another key piece of advice is to ensure that your party is ready for the madness. If your allies are not equipped to handle the berserk rage, you might find yourself with a lot of “friendly fire” and frustrated teammates. Keep an eye on your party’s positioning and abilities, and always have a backup plan in case things go sideways.
**Player Feedback: What the Community Says**
The *BG3* community has been buzzing with mixed feelings about the Horns of the Berserker. Some players love the pure chaos they bring to combat, describing it as one of the most fun and exhilarating experiences in the game. Others, however, have expressed frustration over losing control of their characters, especially when trying to keep everyone alive and well.
On forums and social media, players often share stories of epic battles where the horns were used to devastating effect. One player mentioned, “I equipped the horns in the middle of a fight, and suddenly I was taking out entire groups of enemies with one swing. It felt like I was invincible — until I accidentally attacked my own team!”
Meanwhile, other players have shared their struggles, saying, “I used the horns in a dungeon and ended up charging into a trap. It was a mess. I think I need a better strategy for this item!”
**Solution: Mastering the Chaos**
If you want to make the most out of the Horns of the Berserker without going full-on chaotic, here are a few tips to help:
1. **Plan Your Environment**: Only use the horns when you’re sure there are no delicate social encounters or intricate puzzles ahead. If you’re in a combat-heavy area, they can be a game-changer.
2. **Coordinate with Allies**: If you’re playing with a party, make sure your team can handle the berserker’s rampage. Consider having characters with healing abilities or crowd control skills to manage the chaos.
3. **Mind Your Position**: Sometimes, the best strategy is to find the perfect spot on the battlefield where you can let loose without putting yourself or your team in danger. Use terrain to your advantage.
4. **Practice in Safe Areas**: Before you jump into major battles, try using the horns in smaller encounters to understand the full range of their effects. This way, you won’t be blindsided by the chaos when it matters most.
**Conclusion: Are the Horns Worth It?**
In conclusion, the Horns of the Berserker are a thrilling but risky item in *Baldur’s Gate 3*. They can turn the tide of battle in your favor, but they come with their own set of challenges. The key to using them effectively is balance — knowing when to embrace the chaos and when to stay calm.
So, have you ever used the Horns of the Berserker in your *BG3* adventures? What was your experience like? Did it lead to glorious victories, or did you end up regretting your decision? Let us know in the comments — we’d love to hear your stories and strategies!
**Summary:**
The Horns of the Berserker offer players a powerful but unpredictable tool for combat. While they can deliver incredible damage, they come with significant downsides, like loss of control and potential friendly fire. Understanding when and how to use them, as well as coordinating with your team, can help you master the chaos and make the most of these powerful horns!


