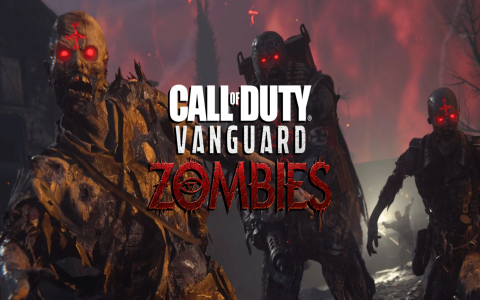
**Ready to crush zombies with style? Here’s everything you need to know about the Rival 9 Zombies loadout!**
If you’re one of those players who thrives on blasting zombies into oblivion, you’ve probably been on the hunt for that perfect loadout in your favorite zombie shooter. Enter the **Rival 9 Zombies loadout**, a weapon configuration that promises to bring both style and firepower to your undead-slaying adventures. But how do you maximize its potential? Is it really as deadly as it sounds? Let’s dive into the details, break down the pros and cons, and figure out exactly how to make this loadout your new best friend in the apocalypse.
—
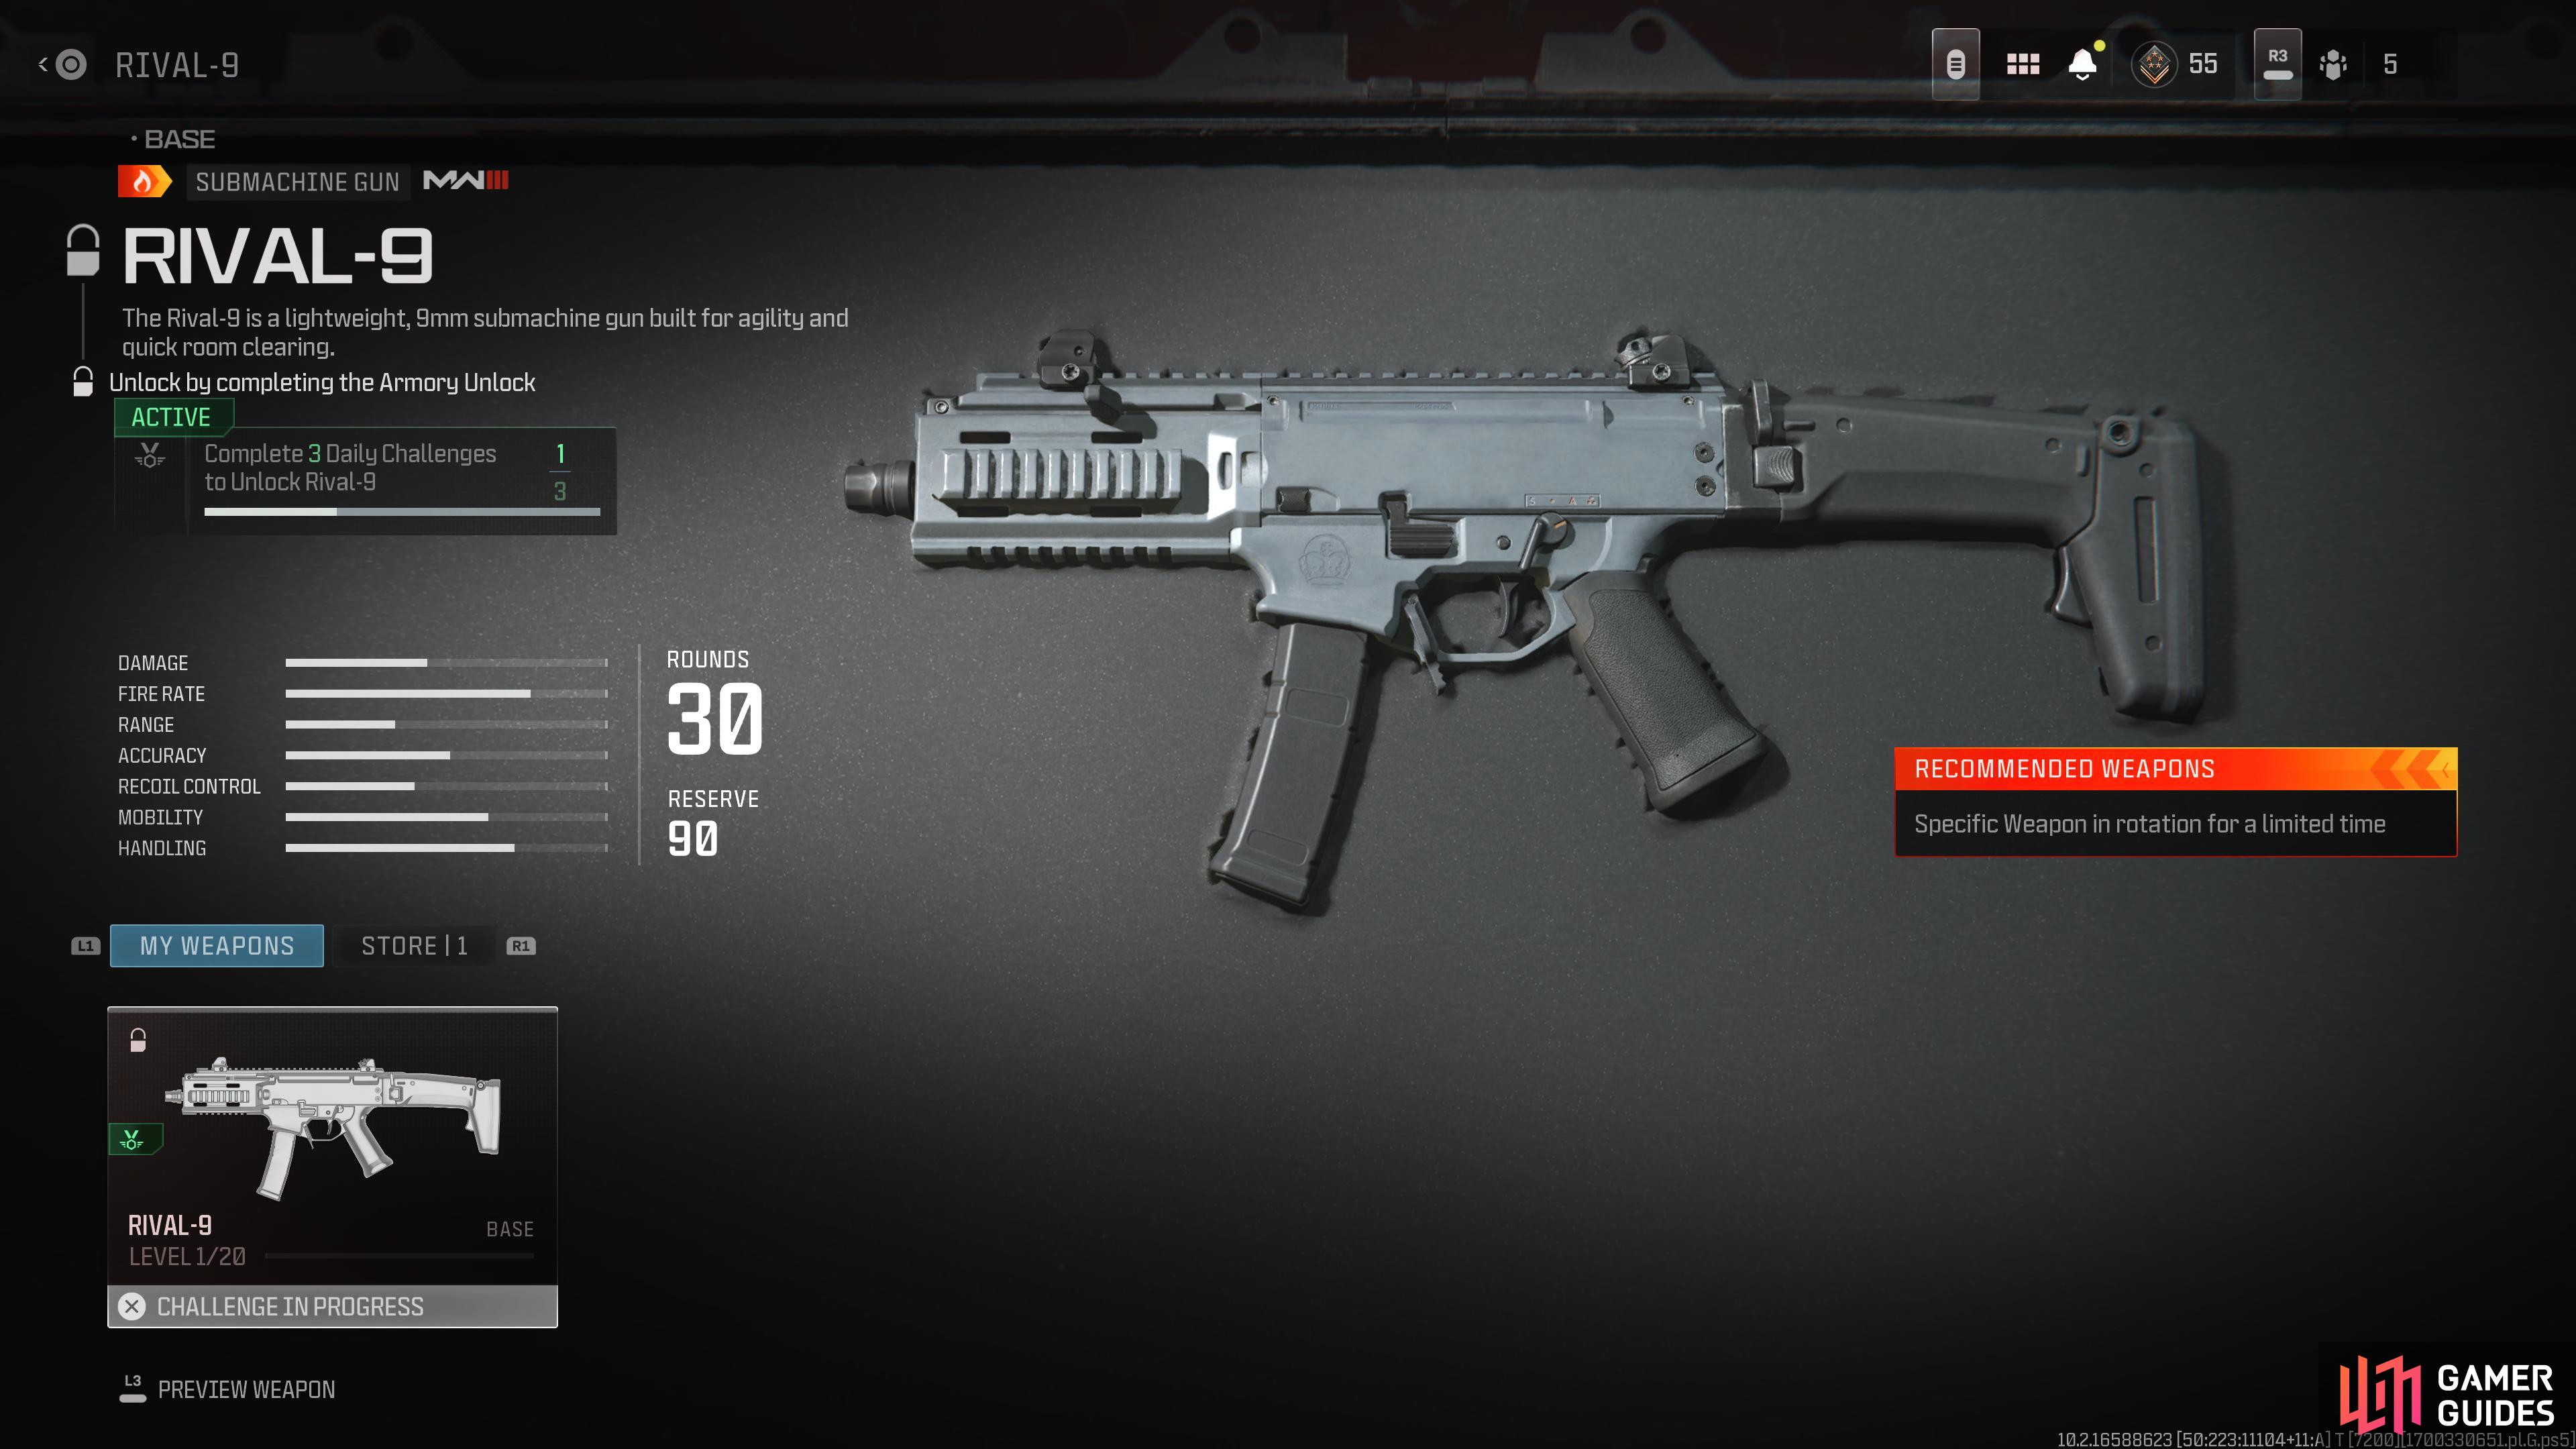
**The Zombie Apocalypse Calls… What is the Rival 9 Zombies Loadout?**
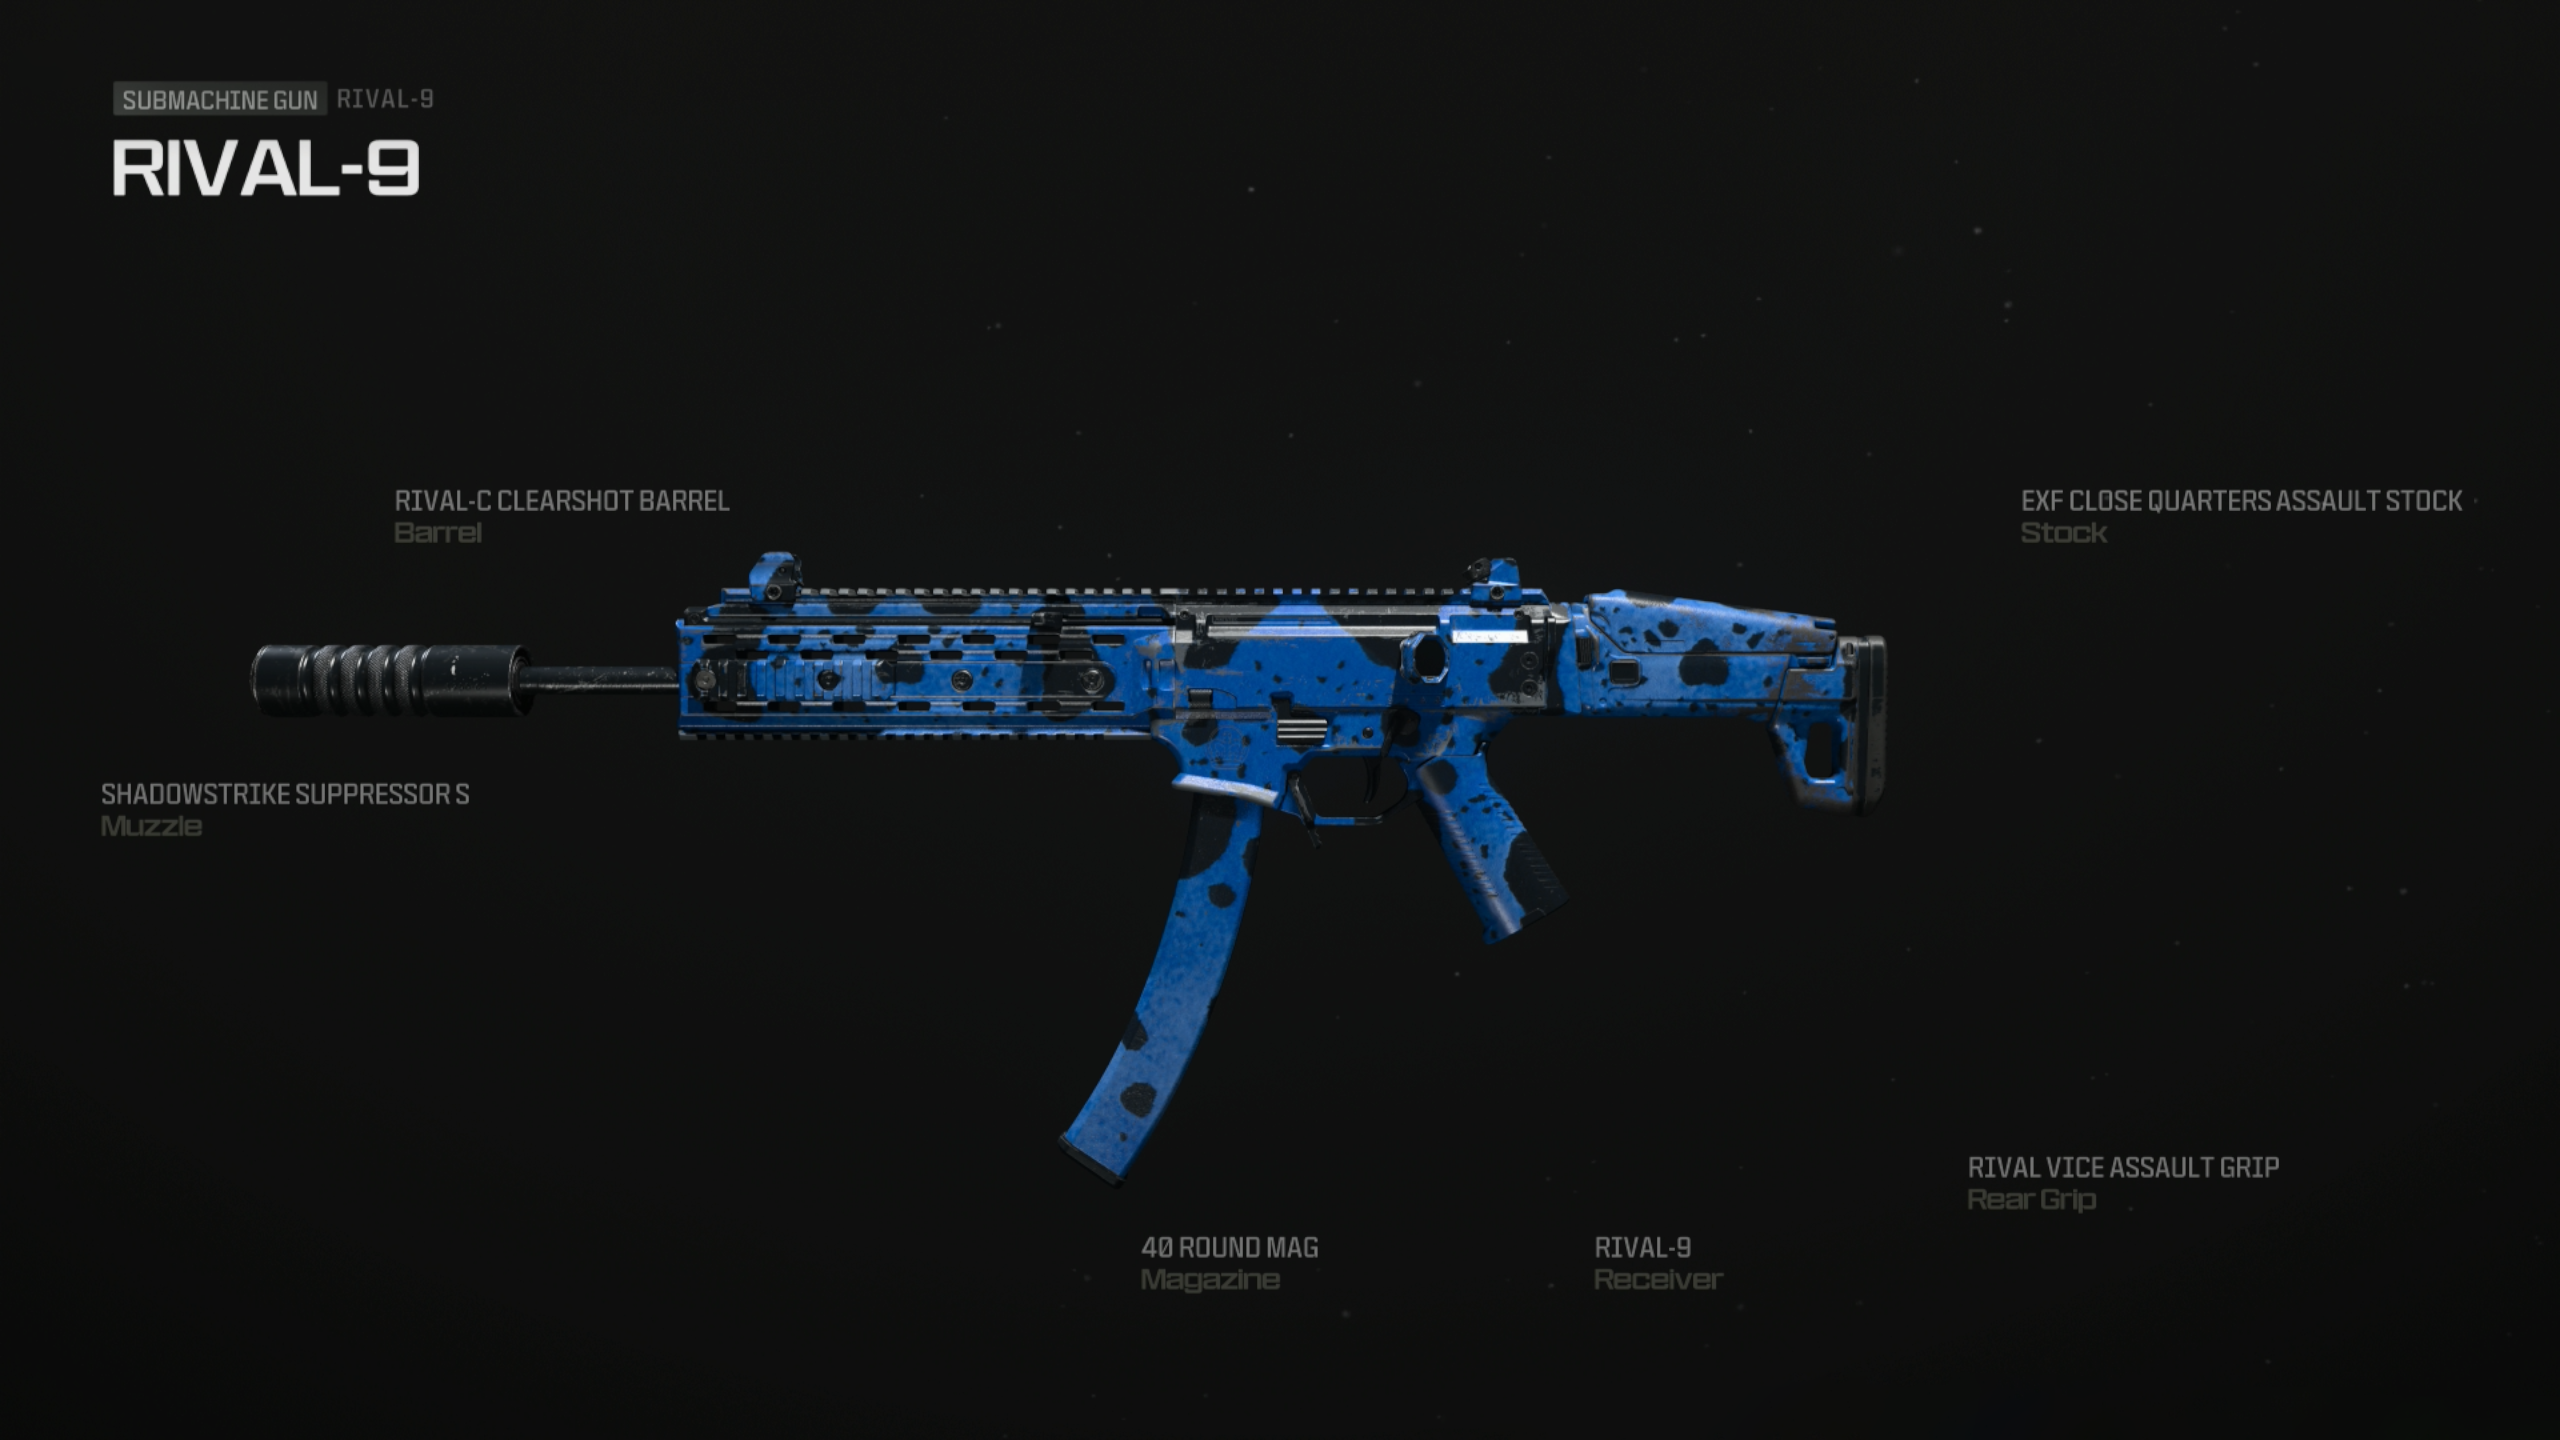
The Rival 9 Zombies loadout isn’t just another generic setup—it’s a weapon combination specifically tailored to obliterate waves of the undead in your favorite zombie shooter. But don’t get too comfortable; as every seasoned player knows, surviving hordes of zombies requires more than just a high-powered weapon. **It’s about balancing power, accuracy, and utility**.
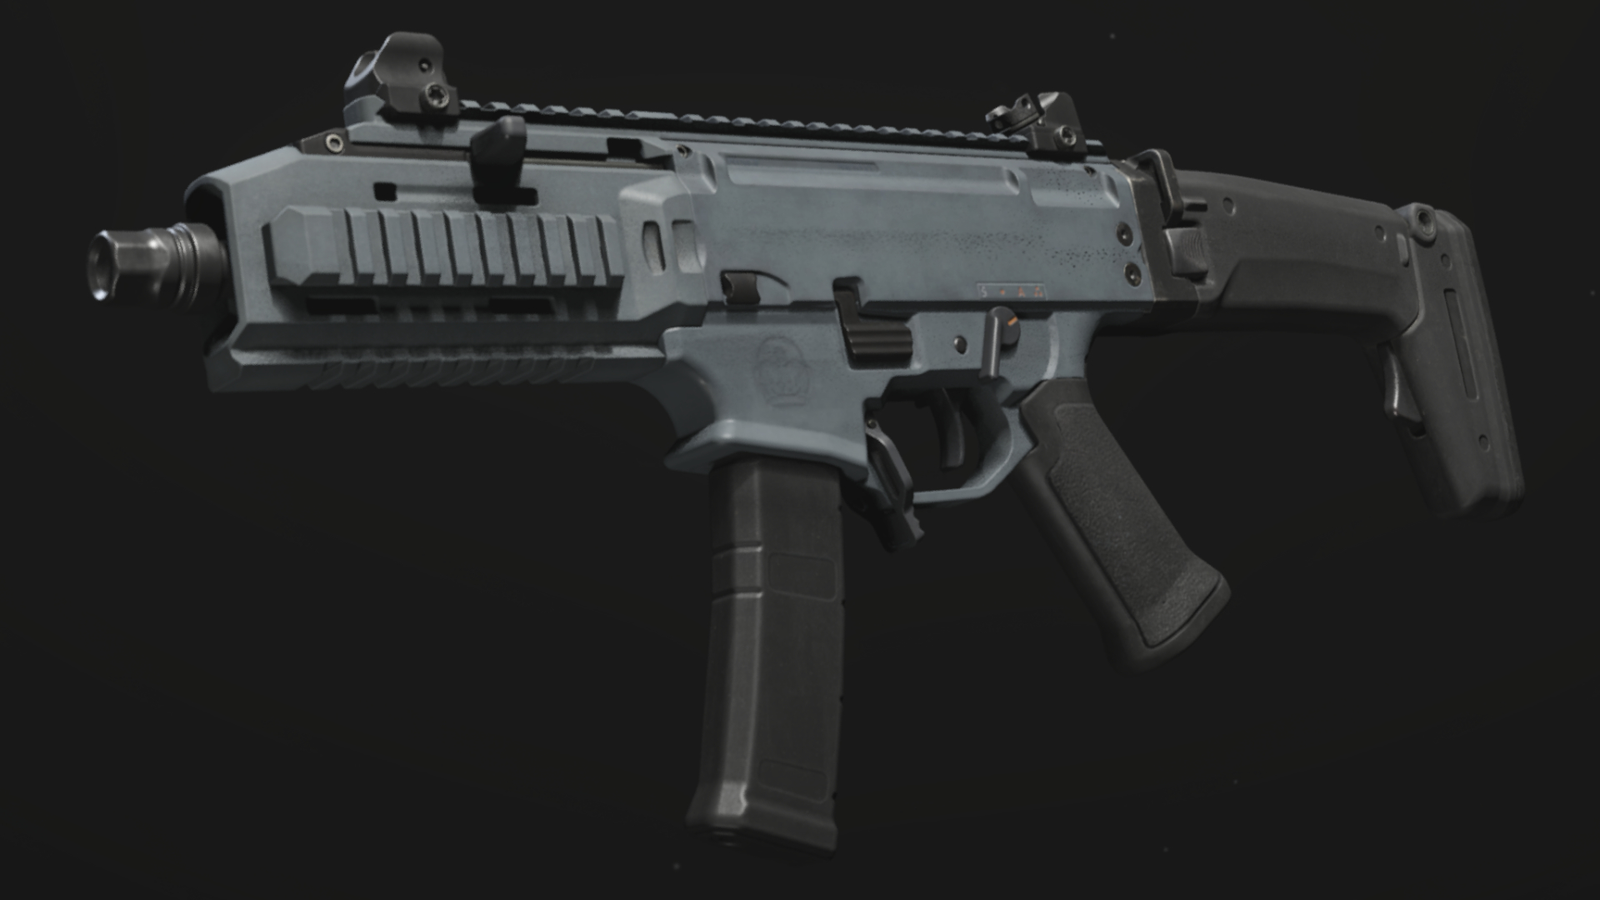
Typically, the Rival 9 loadout includes a mix of close-range shotguns, rapid-fire weapons, and explosives, all optimized for maximum carnage. The goal? To obliterate anything in your path before it even gets close enough to gnaw on your brains.
But how does it perform in practice?
—
**Problems You Might Face: Why Isn’t It Always as Great as It Sounds?**
As amazing as the **Rival 9 Zombies loadout** sounds on paper, some players have run into a few bumps along the way. Here are a couple of the most common issues you might face:
1. **Ammo Management Woes** – With weapons like shotguns and explosive devices in the mix, you’re going to burn through ammo quickly. Players often find themselves running dry at inopportune moments, especially when fighting large swarms.
2. **Handling in Tight Spaces** – While the Rival 9 loadout excels in open spaces, things can get a little tricky when you’re backed into a corner (and we all know zombies love corners). Weapons with heavy recoil or low mobility can become liabilities in cramped areas.
3. **Skill Gap** – The loadout requires quick reflexes and precise aiming. Novice players may find themselves frustrated by the slower reload times or inability to clear swarms fast enough.
If you’ve ever thrown yourself into a zombie horde only to find out your ammo is gone, or worse, your shotgun is too slow to get that final kill before you’re overrun, you’ll know exactly what we mean.
—
**How to Tackle These Problems and Maximize the Rival 9 Loadout**
**Ammo Conservation is Key**
While it’s tempting to go full Rambo and spray bullets everywhere, ammo conservation is crucial. Consider balancing your loadout with weapons that have **higher ammo capacity** or **quick reload mechanics**. Weapons like semi-auto rifles or pistols can complement your heavy-hitting shotgun, helping you stretch out your resources.
**Embrace Mobility**
The key to surviving tight situations is **mobility**. Consider using weapons that allow you to move quickly, like SMGs or pistols, and combine them with your shotguns for when you need raw damage output. It’s all about knowing when to swap and move.
**Learn the Art of Timing**
A lot of the Rival 9 loadout’s power lies in its **explosives**. These can be devastating in large groups, but they also require precise timing. Make sure to take advantage of explosive barrels and environmental hazards to save yourself precious bullets. Planning your attacks and knowing when to lay traps is a skill that’ll set you apart from less-prepared survivors.
—
**What Are Other Players Saying About the Rival 9 Zombies Loadout?**
The community is split on the Rival 9 Zombies loadout—some players swear by it, while others are ready to toss it out the window. Here’s a quick roundup of what folks are saying:
– **Reddit user “ZombieSlayer420”** claims that the Rival 9 loadout is a “game-changer” when used correctly: “I went from barely surviving on round 20 to breezing through round 30 with the right mix of shotgun and explosives. You’ve got to time the reloads and use the environment, but when it clicks, it clicks.”
– **On the flip side, “NoAmmoNoCry”** expresses some frustrations: “I really wanted to love this loadout, but the ammo runs out so quickly! It feels like I’m always stuck hunting for drops in the middle of a swarm. Plus, the slow reloads when you’re surrounded… not great.”
It’s clear: the **Rival 9 Zombies loadout** isn’t a one-size-fits-all solution. But with a little practice and patience, it can be a solid choice for players who know how to balance aggression with caution.
—
**Wrapping It Up: Is the Rival 9 Zombies Loadout Worth It?**
At the end of the day, the **Rival 9 Zombies loadout** can be an absolute powerhouse if you know how to use it. Its combination of high-damage weapons, explosive power, and close-quarters lethality makes it a favorite for players who like to get up close and personal with zombies. However, like all loadouts, it comes with its challenges—ammo management and mobility being the main ones.
If you’re looking to dominate the zombie hordes and want something that feels satisfying yet challenging, give the Rival 9 loadout a try. It’s not the easiest setup to master, but the rewards are well worth it.
**Have you tried the Rival 9 Zombies loadout? What’s been your experience with it? Drop a comment below and let us know how you’ve been handling the undead apocalypse with this beastly setup!**
—
**Summary**
To sum it up, the **Rival 9 Zombies loadout** is a great choice for players who enjoy powerful, up-close combat with zombies. While it does have some quirks—ammo issues, reload time, and handling in tight spaces—it’s a highly effective setup when used properly. Stay agile, manage your ammo, and always think a few steps ahead, and you’ll find yourself dominating the zombie waves.
Now, go out there and give them hell… zombie hell.


