The *Sha Warvo Shrine* in *Tears of the Kingdom* is one of the more intricate and challenging shrines, but with a little patience and a well-laid plan, you can conquer it. In this walkthrough, we’ll guide you through the steps needed to complete the shrine, explaining the puzzles, enemies, and rewards along the way. Whether you’re stuck at a specific puzzle or just need a bit of assistance, this guide will provide a clear and thorough path to success.
Understanding the Layout of the Sha Warvo Shrine
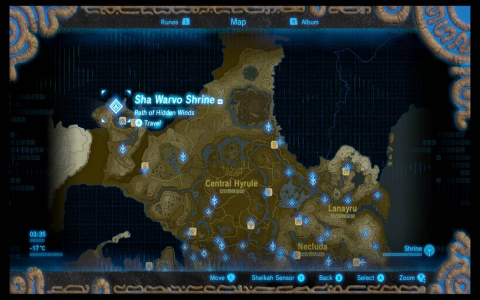
The Sha Warvo Shrine is located in a tricky spot on the map, often requiring players to navigate through a labyrinth of cliffs and obstacles. Finding the shrine can be a challenge in itself, but once you do, the true test begins. This shrine is unique because it combines both environmental puzzles and combat challenges, making it a true test of both your brain and your reflexes.
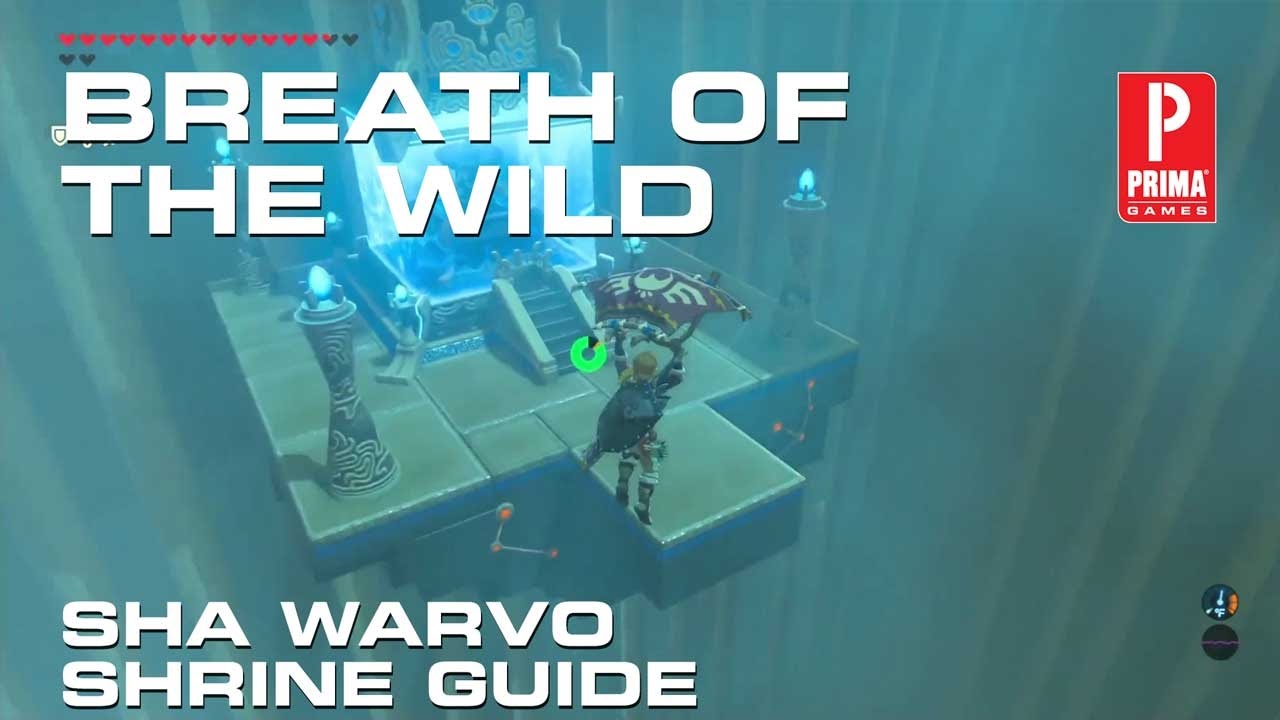
Upon entering the shrine, you’ll be faced with several moving platforms, a combination of light and shadow puzzles, and a few difficult enemies. The shrine is designed in such a way that it’s easy to feel overwhelmed by the complexity, but each challenge has a clear solution if you approach it step-by-step.
Step-by-Step Walkthrough
1. **Entering the Shrine**
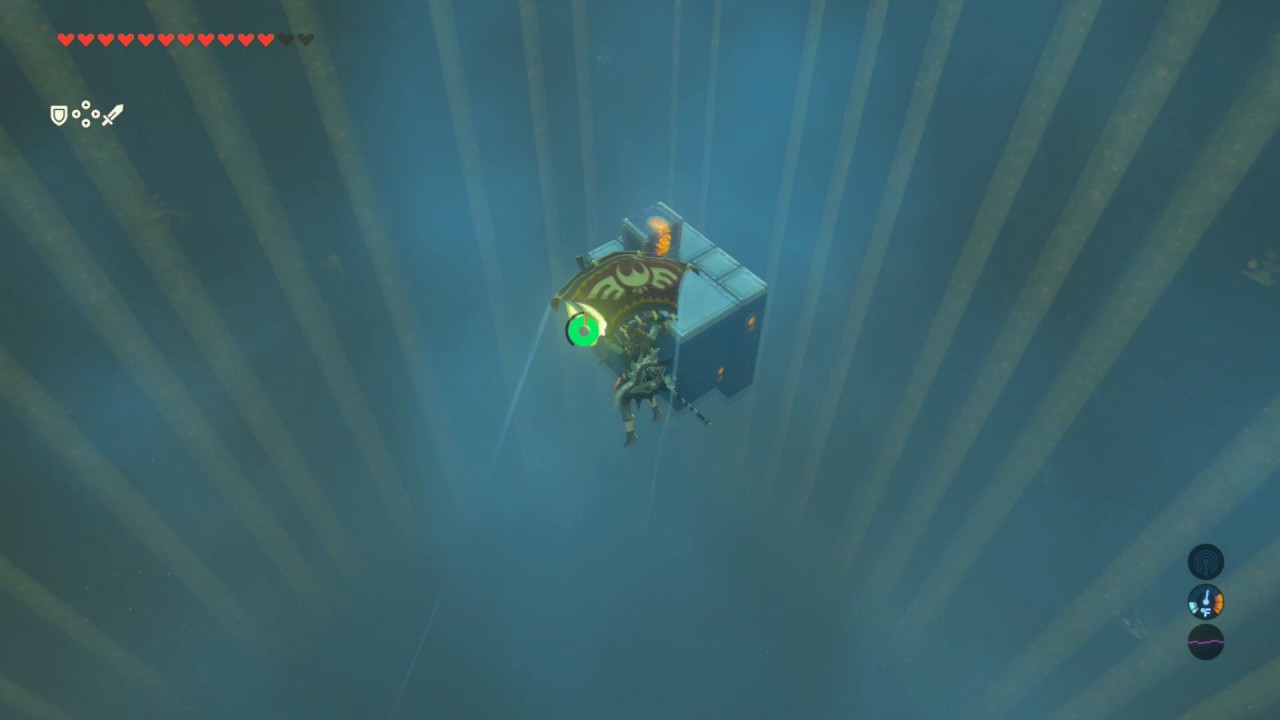
First, make sure you’ve got a good set of gear, as you’ll face a few tough enemies early on. If you’re unsure of the location, the shrine is often hidden in a more remote area of the map, accessible by a set of climbing ledges or using a combination of gliding and jumping. Keep an eye on the environmental clues around you, as these often lead to hidden paths and shortcuts.
2. **Puzzle 1: The Moving Platforms**
One of the first puzzles you’ll encounter inside the shrine involves a series of moving platforms. These platforms move in a set pattern, but you’ll need to time your jumps carefully to avoid falling into the pit below. The key here is patience; wait for the platforms to align before making your move. A quick mistake could send you all the way back to the start, so take your time and pace yourself.
3. **Puzzle 2: Light and Shadow Mechanics**
This section of the shrine challenges you to manipulate light sources to create shadows that unlock doors. You’ll notice mirrors and light sources scattered across the room. Your goal is to adjust the mirrors and position them to cast shadows that align with the marks on the walls. This puzzle may seem difficult at first, but remember that the light must hit certain key areas of the shrine. Experiment with different angles until the shadow aligns perfectly, and the door will open to reveal the next area.
4. **Combat Section: Defeat the Guardians**
After solving the puzzles, you’ll encounter a group of *Sha Warvo Guardians*. These enemies are formidable, equipped with powerful attacks and shield mechanics. The best strategy is to wait for their attacks and then dodge at the right moment. Once you’ve dodged, quickly retaliate with a strong weapon or use elemental magic to exploit their weaknesses. Make sure to have plenty of healing items at the ready, as the Guardians can dish out heavy damage.
5. **Final Reward and Exit**
Once you’ve defeated the Guardians and completed the final puzzle, you’ll gain access to the treasure chest hidden at the shrine’s core. Inside, you’ll find a powerful upgrade or weapon that will aid you on your journey. The shrine will then open up an exit, leading you to the next stage in your adventure.
Tips for Success
– **Use Your Map:** The Sha Warvo Shrine can be hard to locate if you’re not paying attention to your surroundings. Use your in-game map to guide you and mark the location for easy access next time.
– **Elemental Attacks:** The Guardians are vulnerable to specific elemental attacks, so make sure to equip weapons that deal elemental damage (fire, ice, lightning) for maximum efficiency.
– **Patience is Key:** Many of the puzzles in the shrine require precise timing and careful observation. Rushing through may result in unnecessary setbacks, so take your time to analyze each room and solve each puzzle methodically.
Conclusion
The Sha Warvo Shrine in *Tears of the Kingdom* offers a perfect mix of brain-bending puzzles and tough combat challenges that will test both your strategic thinking and your combat skills. With patience, a bit of creativity, and the right gear, you’ll find yourself overcoming the challenges that lie within. Make sure to follow this guide closely, and you’ll soon be walking out of the shrine victorious, with new knowledge, power, and treasures to carry you through the game’s challenges.


